Linux Preference
Table of Contents
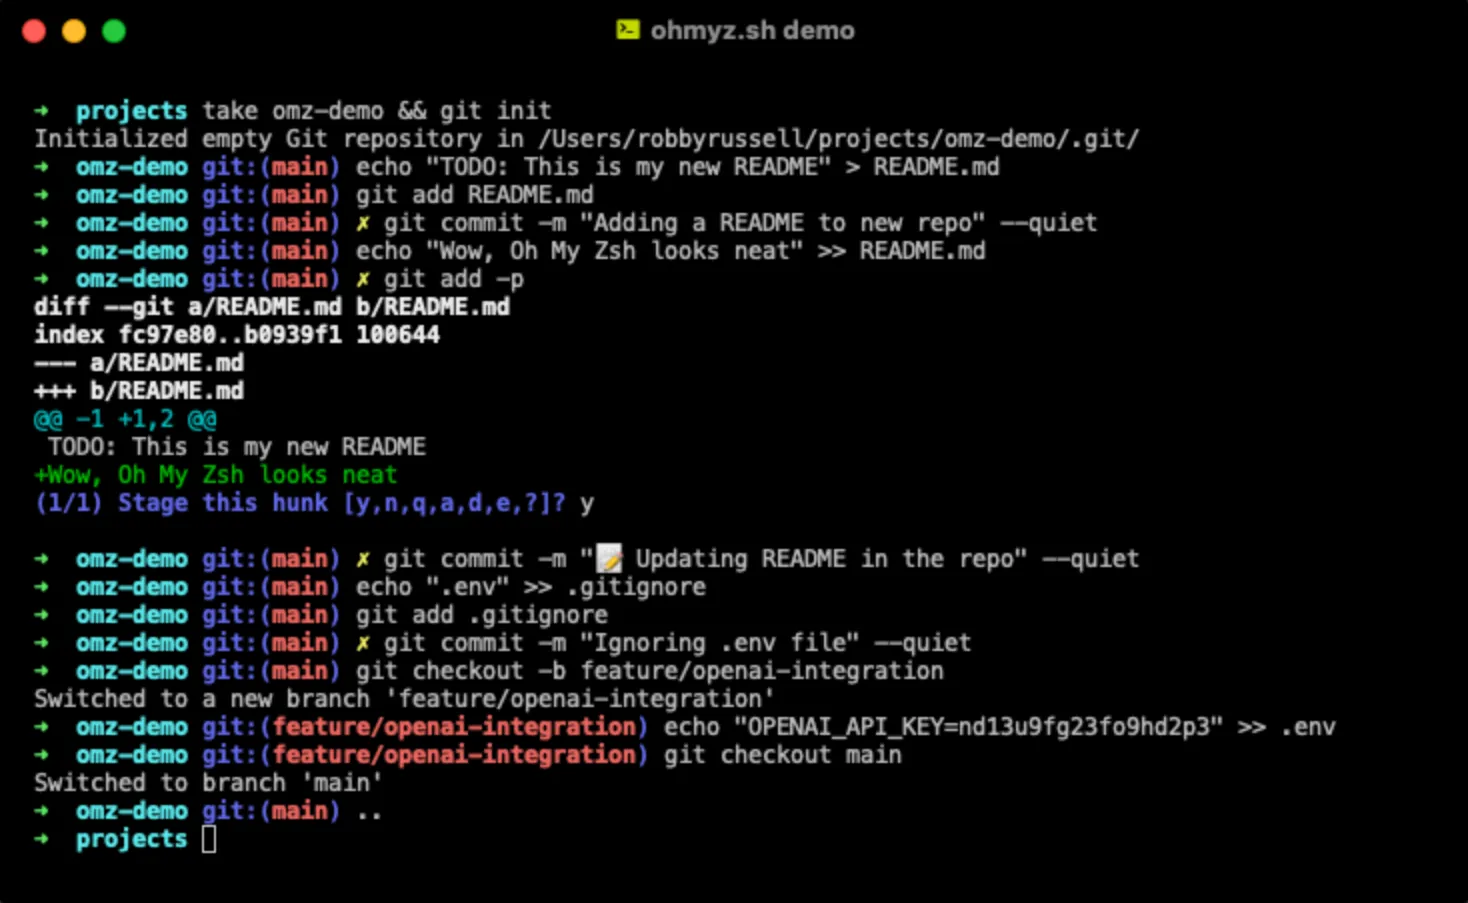
Terminal #
Auto Completion #
1. Bash Completion #
Bash Completion is a widely used auto-completion script that provides auto-completion functionality for many common commands.
Install Bash Completion: #
On Ubuntu or Debian systems, you can install it using the following commands:
sudo apt update
sudo apt install bash-completion
After installation, ensure you add the following content to your ~/.bashrc file to enable Bash Completion:
if ! shopt -oq posix; then
  if [ -f /usr/share/bash-completion/bash_completion ]; then
    . /usr/share/bash-completion/bash_completion
  elif [ -f /etc/bash_completion ]; then
    . /etc/bash_completion
  fi
fi
Then, reload the ~/.bashrc file:
source ~/.bashrc
2. fzf #
fzf is a powerful command-line fuzzy finder that can be combined with Bash and Zsh to provide fuzzy search for command history and filenames.
Install fzf: #
On Ubuntu or Debian systems, you can install it using the following commands:
sudo apt update
sudo apt install fzf
After installation, you can add the following content to your ~/.bashrc file to enable fzf:
# Use fzf for command history search
bind -x '"\C-r": "fzf-history"'
fzf-history() {
  local selected=$(HISTTIMEFORMAT= history | fzf +s --tac --reverse --height 40% --border --ansi)
  READLINE_LINE="${selected[*]:7}"
  READLINE_POINT=${#READLINE_LINE}
}
Then, reload the ~/.bashrc file:
source ~/.bashrc
Zsh #
Zsh Installation and Configuration, Beautify Terminal with Oh-My-Zsh | Leehow’s Station
- Installation
sudo apt update
sudo apt install zsh
- Switch default terminal to Zsh
chsh -s $(which zsh)
-
Logout and log back in to make the changes effective.
-
Verify if the default terminal is Zsh: Reopen the terminal and enter the following command to verify the current shell:
echo $SHELLThe output should be
/usr/bin/zshor a similar path, indicating that the current default shell has been switched to Zsh.
Configure ROS #
Add the path of ROS 2 to PATH.
-
nano ~/.zshrc -
Add the following content to the end of the file
source /opt/ros/foxy/setup.zsh -
Save and close the file, then reload
~/.zshrcsource ~/.zshrc
Verify if ROS 2 commands are available
ros2 --help
Configure Zsh #
- Install Oh My Zsh:
sh -c "$(curl -fsSL https://raw.githubusercontent.com/ohmyzsh/ohmyzsh/master/tools/install.sh)"
- Install zsh-autosuggestions:
git clone https://github.com/zsh-users/zsh-autosuggestions ~/.zsh/zsh-autosuggestions
echo "source ~/.zsh/zsh-autosuggestions/zsh-autosuggestions.zsh" >> ~/.zshrc
- Install zsh-syntax-highlighting:
git clone https://github.com/zsh-users/zsh-syntax-highlighting.git ~/.zsh/zsh-syntax-highlighting
echo "source ~/.zsh/zsh-syntax-highlighting/zsh-syntax-highlighting.zsh" >> ~/.zshrc
- Reload
.zshrcfile:
source ~/.zshrc
After completing these steps, Zsh will become your default shell, and you can leverage its powerful auto-completion and suggestion features to improve command-line efficiency.
Using Oh My Zsh in Zsh makes it very convenient to change and customize themes. Here are the steps:
1. Install Oh My Zsh #
If you haven’t installed Oh My Zsh yet, you can use the following command to install it:
sh -c "$(curl -fsSL https://raw.githubusercontent.com/ohmyzsh/ohmyzsh/master/tools/install.sh)"
2. Select and Set Theme #
Oh My Zsh comes with many themes. You can set the theme you want to use in the ~/.zshrc file. Here are a few popular theme examples:
- agnoster: A clean and informative theme, suitable for wide screens.
- robbyrussell: The default theme of Oh My Zsh, simple and easy to use.
- powerlevel10k: A highly customizable and feature-rich theme.
Modify Theme: #
-
Edit
.zshrcfile:nano ~/.zshrc -
Find and modify the
ZSH_THEMEline: SetZSH_THEMEto the theme you want, for example:ZSH_THEME="agnoster" -
Save and reload
.zshrcfile:source ~/.zshrc
3. Install Powerlevel10k Theme #
If you want to use the powerlevel10k theme, here are the installation steps:
- Clone Powerlevel10k Repository:
git clone --depth=1 https://github.com/romkatv/powerlevel10k.git ${ZSH_CUSTOM:-$HOME/.oh-my-zsh/custom}/themes/powerlevel10k
-
Set Powerlevel10k Theme: Set the theme to
powerlevel10k/powerlevel10kin the.zshrcfile:ZSH_THEME="powerlevel10k/powerlevel10k" -
Save and reload
.zshrcfile:source ~/.zshrc -
Configure Powerlevel10k: Reopen the terminal, and Powerlevel10k will automatically start the configuration wizard to help you customize the theme appearance.
4. Install Fonts #
To make some advanced themes (like powerlevel10k) display correctly, you may need to install fonts that support icons and special symbols, such as MesloLGS NF.
-
Download MesloLGS NF Font: Download
MesloLGS NFfont from Nerd Fonts. -
Install Font: Install the downloaded font file to the system. For Ubuntu, you can copy the font file to the
~/.local/share/fontsdirectory, then run:fc-cache -fv -
Select Font in Terminal Settings: Open your terminal settings and set the font to
MesloLGS NF.
Tilix #
Open Terminal in Folder Context Menu #
-
Create Script File: Use the following command to create a script file:
mkdir -p ~/.local/share/nautilus/scripts nano ~/.local/share/nautilus/scripts/Open\ in\ Tilix -
Edit Script Content: Enter the following content in the opened file:
#!/bin/bash tilix -w $NAUTILUS_SCRIPT_CURRENT_URI -
Save and Close File: In nano, press
Ctrl+OthenEnterto save the file, and pressCtrl+Xto exit the editor. -
Make Script Executable: Enter the following command to make the script executable:
chmod +x ~/.local/share/nautilus/scripts/Open\ in\ Tilix
After completing the above steps, you should be able to right-click inside a folder, then select “Scripts” -> “Open in Tilix” to open that folder in Tilix. Note that you should right-click on a folder or inside the folder, not on empty space if specifically targeting a folder selection (though usually context menu inside folder works for current dir).
Kitty #
Kitty: Another GPU-accelerated terminal tool - CSDN Blog
GitHub - dexpota/kitty-themes: A collection of themes for kitty terminal 😻
Blog #
You have successfully installed nvm, but need to reload the shell configuration file for it to take effect. You can follow the prompts of the installation script, close and reopen the terminal, or manually run the following commands:
export NVM_DIR="$HOME/.nvm"
[ -s "$NVM_DIR/nvm.sh" ] && \. "$NVM_DIR/nvm.sh"  # This loads nvm
[ -s "$NVM_DIR/bash_completion" ] && \. "$NVM_DIR/bash_completion"  # This loads nvm bash_completion
1. Reload Configuration File #
You can manually run the above commands or enter the following command in the terminal to reload your configuration file:
source ~/.zshrc
2. Install Node.js Version 20 #
After reloading the configuration file, run the nvm command to install Node.js 20:
nvm install 20
3. Set Default Node.js Version #
After installation is complete, you can set Node.js 20 as the default version:
nvm use 20
nvm alias default 20
4. Verify Installation #
Finally, verify if Node.js and npm are installed correctly:
node -v
npm -v
5. Install Hexo CLI #
Now, you can install Hexo CLI:
npm install -g hexo-cli
Through these steps, you should be able to use nvm to install and manage Node.js versions and successfully install Hexo CLI. If there are still problems, please feel free to let me know!
Common Applications #
Zotero #
Here are the steps to install Zotero-7.0.11_linux-x86_64.tar.bz2:
It seems there is a simpler way:
1. Extract Compressed File #
First, you need to extract the downloaded tar.bz2 file.
Run the following command:
sudo apt update
sudo apt install bzip2
tar -xvjf Zotero-7.0.11_linux-x86_64.tar.bz2
This will extract the file to the current directory, usually generating a folder named Zotero_linux-x86_64.
2. Move Extracted Files to System Directory (Optional) #
For easier management, you can move the extracted folder to the /opt directory (system applications are usually stored here).
Run the following command:
sudo mv Zotero_linux-x86_64 /opt/zotero
3. Create Desktop Shortcut #
To start Zotero conveniently, you can create a desktop shortcut.
-
Edit shortcut file:
sudo nano /usr/share/applications/zotero.desktop -
Add the following content to the file:
[Desktop Entry] Name=Zotero Exec=/opt/zotero/zotero Icon=/opt/zotero/chrome/icons/default/default256.png Type=Application Terminal=false Categories=Office;Education; -
Save and exit (Press
Ctrl+Oto save,Ctrl+Xto exit).
4. Create Symbolic Link for Executable #
Create a symbolic link so that you can run Zotero by typing zotero in the terminal.
Run the following command:
sudo ln -s /opt/zotero/zotero /usr/local/bin/zotero
5. Install Necessary Dependencies (If Needed) #
Zotero might need some system dependencies, ensure they are installed. Run the following command:
sudo apt update
sudo apt install -y libxss1 libxtst6 libgconf-2-4 libnss3
6. Start Zotero #
Now, you can start Zotero in the following ways:
- Type
zoteroin the terminal and press Enter. - Or start via the desktop shortcut.
7. Optional: Update Zotero #
If you need to update Zotero, simply repeat the above steps. The new version can directly overwrite the old version files.
After completing the above steps, Zotero should run normally! If you encounter any problems, please let me know!
GNOME #
Split Screen #
1. Install GNOME Tweaks Tool #
GNOME Tweaks is used to manage extensions and system customization settings:
sudo apt install gnome-tweaks gnome-shell-extensions
2. Install GNOME Extensions Browser Plugin #
- Open GNOME Extensions Official Website.
- Install GNOME Shell Integration plugin (supports Firefox and Chrome).
- After installation, refresh the browser page to ensure the website can detect the GNOME environment.
Recommended Split Screen Extensions #
-
- Features:
- Enhances GNOME’s default split-screen functionality.
- Supports 1/2 screen, 1/4 screen, 1/3 screen and other split-screen layouts.
- Allows resizing windows by dragging.
- Installation:
- Visit the extension page, click the “Install” button.
- After installation, enable it in GNOME Tweaks.
- Features:
-
- Features:
- Similar to Tiling Window Manager experience.
- Provides keyboard shortcuts for window split-screen layouts.
- Supports mouse dragging, window grid, etc.
- Installation:
- Also install via GNOME Extensions website.
- Suitable for:
- People who prefer using keyboard shortcuts.
- People who need to dynamically adjust window split screens.
- Features:
-
- Features:
- Provides split-screen functionality similar to Windows.
- Supports window left/right, up/down, quarter screen.
- Suitable for:
- People who prefer Windows split-screen operation logic.
- Features:
-
- Features:
- Not directly used for split screen, but can enhance taskbar functionality for convenient window management.
- Combination:
- Can be used in combination with other split-screen extensions.
- Features:
Simply search and install.