Embedded Development on Linux
Table of Contents
This is a note for learning embedded linux development. The used development board is N32G0 of Nationstech
Reference Links #
Environment Config #
VsCode #
Clangd #
To understand your source code, clangd needs to know your build flags. (This is just a fact of life in C++, source files are not self-contained).
By default, clangd will assume your code is built as
clang some_file.cc, and you’ll probably get spurious errors about missing#included files, etc.
For this project , we use bear tool to generate compile_commands.json.
-
Ensure Bear is installed
sudo apt-get install bear -
Navigate to project root directory Ensure you are at the root directory of the project:
cd ~/SumResearch_2024/Repository/Nations.N32G030_Library.1.1.0 -
Use Bear to generate
compile_commands.jsonfilebear -- make -C projects/n32g030_EVAL/gripper/GCC cleanbear -- make -C projects/n32g030_EVAL/gripper/GCC
GCC #
- Choose the right version:

- Unpack the file:
tar -xf arm-gnu-toolchain-13.3.rel1-x86_64-arm-none-eabi.tar.xz
This will extract a folder named arm-gnu-toolchain-13.3.rel1-x86_64-arm-none-eabi in the current directory.
- Choose installation location:
Move the extracted toolchain to an appropriate location, such as under the
/optdirectory
sudo mv arm-gnu-toolchain-13.3.rel1-x86_64-arm-none-eabi /opt
- Set environment variables:
echo 'export PATH="/opt/arm-gnu-toolchain-13.3.rel1-x86_64-arm-none-eabi/bin:$PATH"' >> ~/.bashrc
source ~/.bashrc
- Verify installation: Create a C file and run command below to confirm the installation of GCC.
arm-none-eabi-gcc -o output_file source_file.c
Expect output:
.NET6 #
When firstly opened a project with extension EIDE, it would warn that:
Not found .NET6 runtime on your pc, please install it !
Directly click the official link and follow the guide then we can download the correct version.
Jlink #
We can directly download the .deb pack or others.
After download, use command below to vertify
JLinkExe --version
expect output:
SEGGER J-Link Commander V7.96s (Compiled Jul  4 2024 18:19:44)
DLL version V7.96s, compiled Jul  4 2024 18:19:18
Connect To Board #
Connecting to target via SWD
Found SW-DP with ID 0x0BB11477
DPv0 detected
CoreSight SoC-400 or earlier
Scanning AP map to find all available APs
AP[1]: Stopped AP scan as end of AP map has been reached
AP[0]: AHB-AP (IDR: 0x04770021)
Iterating through AP map to find AHB-AP to use
AP[0]: Core found
AP[0]: AHB-AP ROM base: 0xE00FF000
CPUID register: 0x410CC200. Implementer code: 0x41 (ARM)
Found Cortex-M0 r0p0, Little endian.
FPUnit: 4 code (BP) slots and 0 literal slots
CoreSight components:
ROMTbl[0] @ E00FF000
[0][0]: E000E000 CID B105E00D PID 000BB008 SCS
[0][1]: E0001000 CID B105E00D PID 000BB00A DWT
[0][2]: E0002000 CID B105E00D PID 000BB00B FPB
Memory zones:
  Zone: "Default" Description: Default access mode
Cortex-M0 identified.
sudo JLinkGDBServer -device N32G030C8 -if SWD -speed 4000
Connecting to J-Link...
J-Link is connected.
Firmware: J-Link ARM-OB STM32 compiled Aug 22 2012 19:52:04
Hardware: V7.00
S/N: 20090928
Feature(s): RDI,FlashDL,FlashBP,JFlash,GDB
Checking target voltage...
Target voltage: 3.30 V
Listening on TCP/IP port 2331
Connecting to target...
Halting core...
Connected to target
Waiting for GDB connection...
Then we can use DEBUG in VsCode. It may meet report an error:

That means the lack of libncursesw.
sudo apt-get update
sudo apt-get install libncursesw5
sudo apt-get install libncurses5
Armcc #
Armcc is included in DS-5, however, Arm DS-5 has been superseded by Arm Development Studio. Evaluation licenses are only available for the latest version of Arm DS.

To start using Arm Development Studio 2024.0 either:
- Create a suite sub-shell using /opt/arm/developmentstudio-2024.0/bin/suite_exec <shell>
- Launch GUI tools via their desktop menu entries

The Release notes for the product can be found here: file:///opt/arm/developmentstudio-2024.0/sw/info/readme.html
VOFA+ #
Download the software directly from on official website.
After installation, double-clicking the software icon does not start the program normally. Run it in terminal, it would repot the error:
vofa+: error while loading shared libraries: libcrypto.so.1.1: cannot open shared object file: No such file or directory
Before UBUNTU22.04, we may can install it directly
sudo apt install libssl1.1
After 22.04, we can’t find the package because libssl1.1 may have been replaced by libssl3.
Luckily, I found libssl1.1 in my system:
find / -name "libcrypto.so*"
# OUTPUT: /opt/QQ/resources/app/avsdk/libcrypto.so.1.1
So we can make symbolic link:
sudo ln -s /opt/QQ/resources/app/avsdk/libcrypto.so.1.1 /usr/lib/libcrypto.so.1.1
If we can’t find libssl1.1, we can download QQ-linux or download it manually (for reference only).
-
Download OpenSSL 1.1 Source Code
wget https://www.openssl.org/source/openssl-1.1.1k.tar.gz tar -zxvf openssl-1.1.1k.tar.gz cd openssl-1.1.1k -
Configure and Install
Install to a specific path using a custom prefix to avoid conflict with system version:
./config --prefix=/usr/local/openssl-1.1 --openssldir=/usr/local/openssl-1.1 make sudo make install -
Configure Dynamic Linker Path
Add the newly installed OpenSSL library path to the system library path:
echo "/usr/local/openssl-1.1/lib" | sudo tee /etc/ld.so.conf.d/openssl-1.1.conf sudo ldconfig
Verify if Installation is Successful #
-
Verify OpenSSL Version
Run the newly installed OpenSSL by specifying the path to confirm the version:
/usr/local/openssl-1.1/bin/openssl version -
Check Library Files
Confirm that the new library files exist in the specified path:
ls /usr/local/openssl-1.1/lib
ttyUSB #
ttyUSB cannot be used directly In Ubuntu22.04.
Check the state of the USB device
sudo dmesg | grep tty
# output
[    0.068371] printk: console [tty0] enabled
[  555.498168] usb 3-3.3: ch341-uart converter now attached to ttyUSB0
[  556.189007] usb 3-3.3: usbfs: interface 0 claimed by ch341 while 'brltty' sets config #1
[  556.189756] ch341-uart ttyUSB0: ch341-uart converter now disconnected from ttyUSB0
It indicates that brltty has taken control of the CH341 device.
We can uninstall it directly:
sudo apt-get remove --purge brltty
Then reboot Ubuntu and check the USB again:
[    0.066547] printk: console [tty0] enabled
[    4.535503] usb 3-3.3: ch341-uart converter now attached to ttyUSB03
# OR: ls /dev/ttyUSB*
Environment Configuration Test #
GCC #
With the help of VsCode extension EIDE, it’s convient to use gcc to compile chips of Cortex-M4 series. However, it doesn’t support Cortex-M0 series.
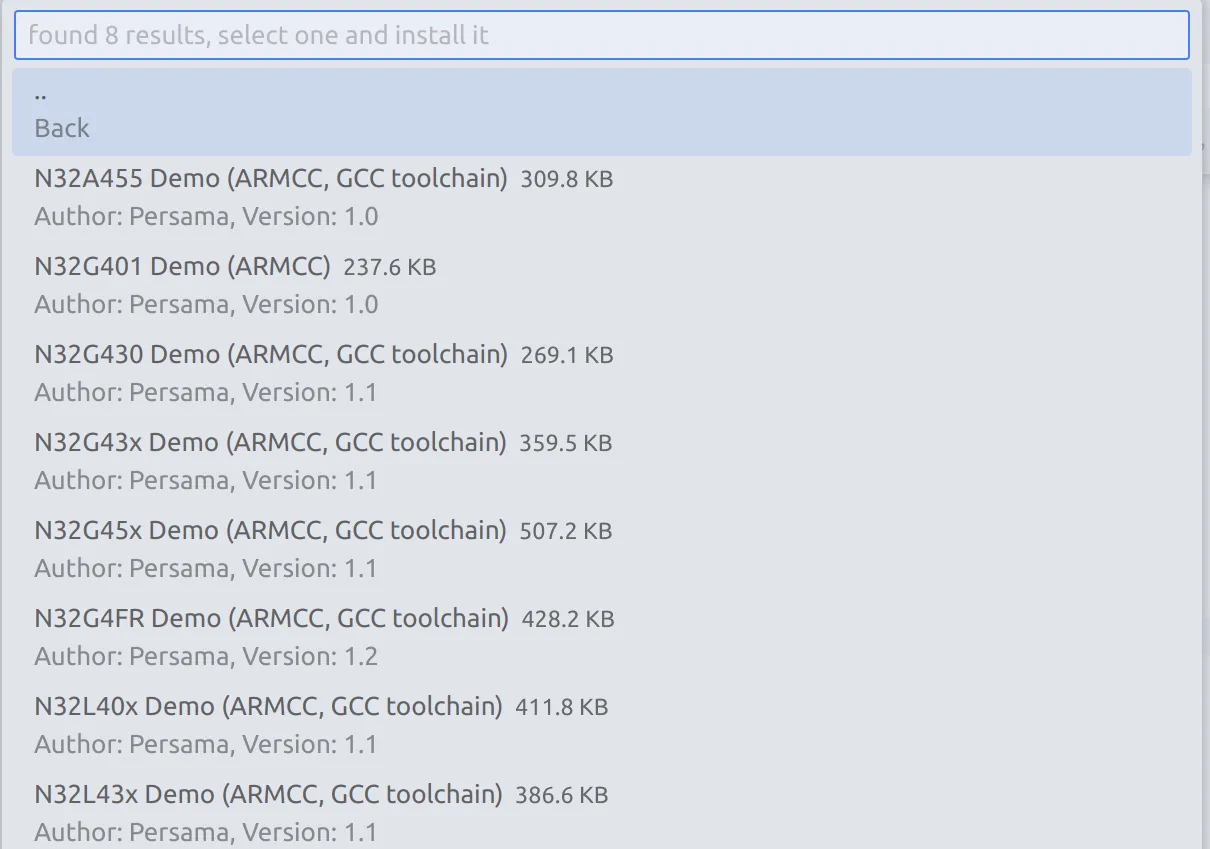
N32 G4x #
[ INFO ] start outputting files ...

>> output hex file              [done]

file path: "build/N32G45x_GCC/N32G45xDemo.hex"

>> output bin file              [done]

file path: "build/N32G45x_GCC/N32G45xDemo.bin"

[ DONE ] build successfully !, elapsed time 0:0:0
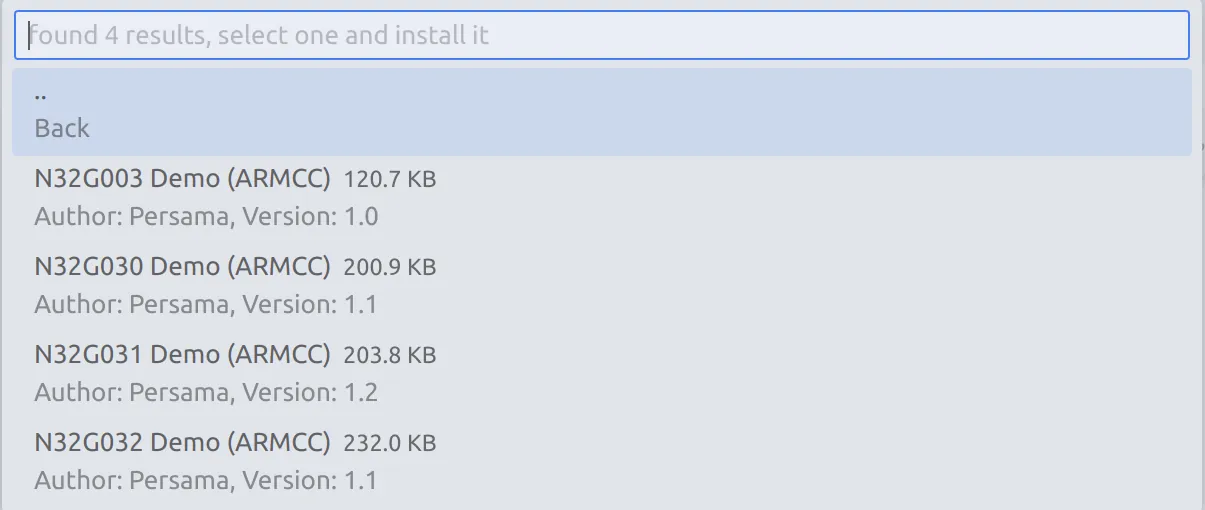
N32 G0x #
Armcc #
compile #
